Author: moshang

  • Multiboard V2

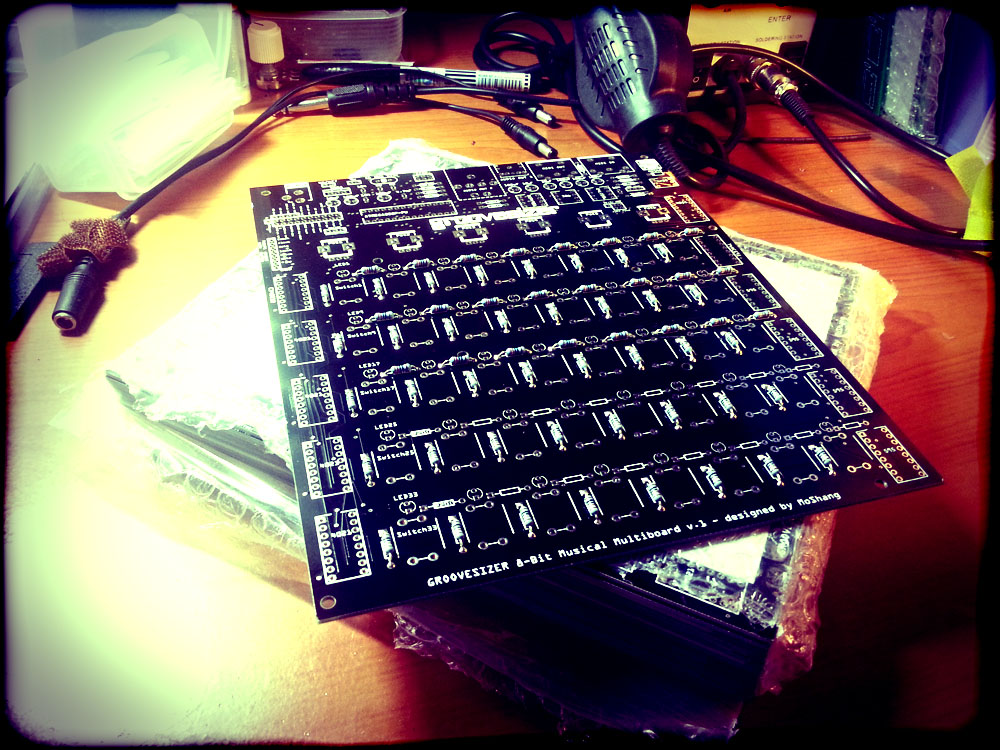
    While we wait for the enclosures to arrive, I’ve taken the time to implement a host of improvements to the multiboard PCB. And before our brave pioneers feel short-changed,  the PCB is not functionally different in any way – rather the changes reflect sound design practice.

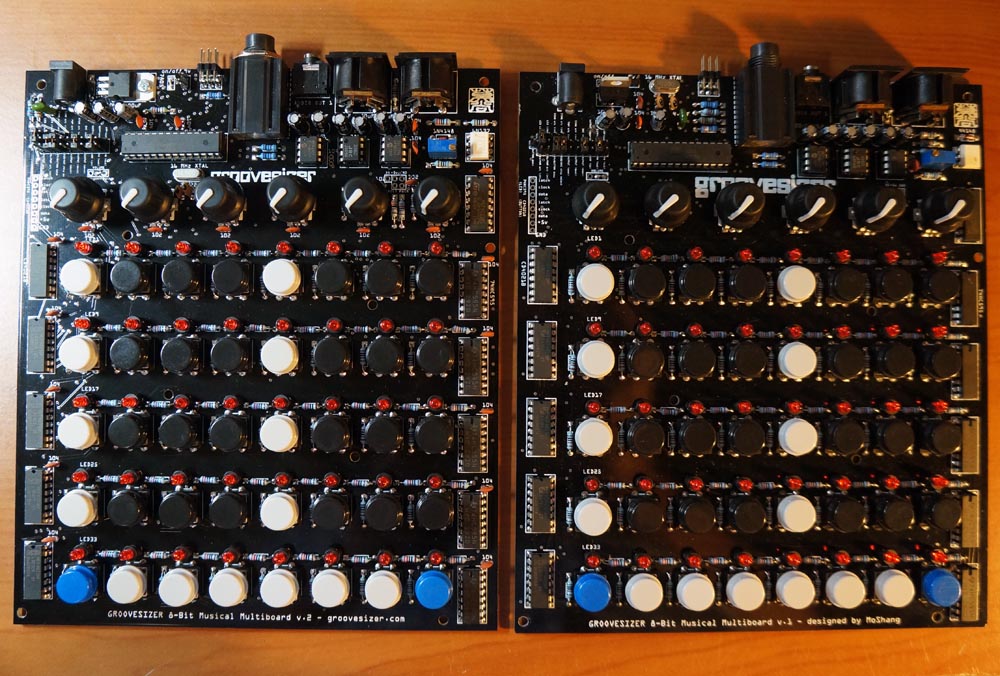
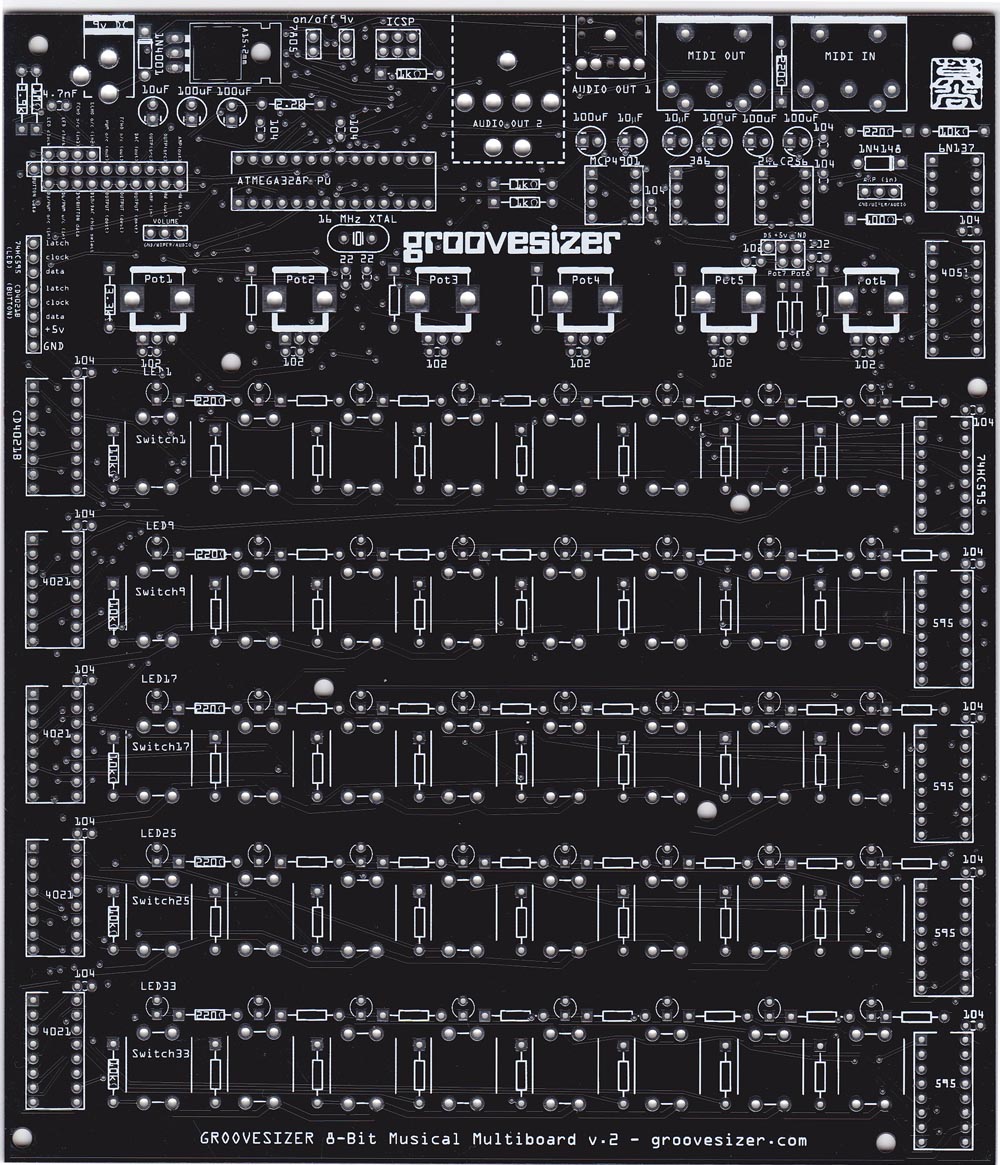
    Here’s the new board.

    Groovesizer V2 small

    For the following changes, I’m hugely indebted to Old Crow, a US-based synth builder with many years of experience (for a somewhat more involved DIY build than the Groovesizer, have a look at his crOwBX).

    • All power traces are now 32mils.
    • Lots of bypass capacitors – specifically on all of the multiplexer ICs.
    • The 7805 voltage regulator is now flat mounted.
    • The crystal and trim caps have been moved closer to the oscillator pins on the Atmega.
    • A ground plane now shields the various circuit elements from one another and from clock noise.
    • The serial input pin for 5th row 4021 is now terminated.

    Thanks also to Mutable Instruments‘ Olivier Gillet for suggesting the use of a 6N137 optocoupler in the MIDI input circuit to replace the 4N35 I’ve been using.

    Last but not least, thanks to Ewald Cress for insisting on the 1N4001 reverse polarity protection diode.

    V2 multiboard on the left, V1 on the right.
    V2 multiboard on the left, V1 on the right.
  • Template Firmware

    We’ve uploaded a template to help you get started rolling your own firmware. You can download it from the Template page.

    Here’s a quick look at what the template does.

  • Syncing the Groovesizer Alpha to Reaper

    Here’s a step-by-step guide for syncing the Groovesizer to Reaper.

    1. download the drumloop at http://www.freesound.org/people/Th3R3m1x3d/sounds/106552/

    2. create a new project in Reaper (File/New project)

    3. import the drumloop (Insert/Media file)

    4. in the track view, grab the right edge of the drumloop clip and use alt+drag to the start of bar2. this time-stretches the clip so it’s exactly a bar long

    5. copy and paste multiple instances of the drumloop clip so you have a good long stretch of drums and loop the section for good measure

    6. make sure you have a MIDI cable connected from your audio interface’s MIDI OUT to the Groovesizer’s MIDI IN

    7. Go to Options/Preferences/MIDI devices

    8. under “MIDI outputs to make available”, double-click your audio interface’s midi output

    9. on the “Configure MIDI Output” window that pops up, select both “Enable output to this device” and “Senc clock/SPP to this device”Reaper Sync

    10. when you press play on Reaper now, the Groovesizer will follow along in sync

    11. the offset appears to be different every time, so you’ll have to ensure the Groovesizer’s first beat aligns with the first beat of the bar in Reaper manually by pressing F1 on the Groovesizer (see the video below). Once aligned, it will stay in perfect sync until you stop playback.


  • Groovesizer Alpha & Shruthi-1: midi sync2

    In this video, two Groovesizers are locked together using midi sync – the black Groovesizer (on the right) is the sync master. A Mutable Instruments Shruthi-1 is played first via the black Groovesizer and then via the green one.

  • Front panel design

    For those of you curious as to what the front panel will look like, here’s the design. The gray background here will be black – it’s just so you can see the bend-lines of the eclosure.

    Nothing too fancy, or specific, since functionality will change depending on the firmware.Groovesizer - Silkscreen


    UPDATE

    The manufacturer is unable to do silkscreen printing within 3mm of a bend, so I’ve had to adjust the design somewhat. I chose to keep the circles around the pots in their altered form. It’s more as a design element – but someone may still have a practical use for it.

    Groovesizer - Silkscreen_updated2

  • Enclosure design – first look

    Here’s a first look at the completed design for a sheet-metal enclosure. Kudos to my brother who obviously spent a lot of time working on this. We’ve sent the design to a local manufacturer and are waiting for them to come back to us with a quote.GS Assy_Shtmtl 100813PM

    GS Assy_Shtmtl 100813PM_2UPDATE:

    The manufacturer suggested we simplify the design into two shells (top and bottom) only. I’m expecting an example in a week or so. The enclosures should be available early in November 2013.

    We’ll keep this design in case we ever want to do wooden end cheeks – classy!

    UPDATE 2 (2023-10-05):

    We’ve just received a sample enclosure from the manufacturer – it looks great! (Click to enlarge.)

    DSC00270

    DSC00272

    DSC00273DSC00274DSC00276

  • Black PCBs

    The first batch of black PCBs have arrived and they sure are purdy!

    2013-09-01 10.13.22I’m building one to make sure they’re retail ready. I was tempted to offer them for sale a bit early, but I don’t think it’s the best of ideas – best to wait until the Alpha firmware is feature complete and bug free, and the enclosures are available too. Not long now though!