Tag Archives: arduino due

Attack of the clones

I ran into an issue with the Arduino Due clone boards I’ve been offering with the TB2 kits. It seemed the boards wouldn’t start properly when installed in the TB2 shield. After offering refunds and vowing to stop selling the clones, a customer alerted me to the fact that you simply need to press the reset button (circled in red below) on the board after plugging in the power for the TB2 to start properly.

20150818_094935


I have a number of the clone Dues left, so I’ve decided to sell on the remaining stock. Just take note of the work-around if you decide to go for a clone. If not, genuine boards are available from Mouser.

TB2 Attack! Out now!

Yes, while the manual is still a work in progress, you can now download the Attack! drum machine firmware for TB2 here .

Here’s a feature overview:

Here are the vital statistics:
– 6 voices
– 12-bit, 22kHz, stereo playback
– loads wav-files off SD card (NB: samples are truncated to the first 250ms only!)
– individual control per voice over pan, pitch, sample start/end, volume, bit reduction
– assign sample start, pitch, bit reduction and volume to velocity
– save and load kits on SD card
– 32 step sequence
– 8 sequences per bank
– save and load sequences on SD card
– live recording/overdubbing
– set 2 velocity levels per voice (normal and accent)
– supports flams (individual delay and decay settings per voice)
– automate sample start and pitch per voice
– MIDI in/out/sync
– bult-in grain effects


Can’t find COM port for Arduino Due

It seems to be a common issue with the Arduino Due that after uploading firmware perfectly normally for a while, the computer suddenly can’t find the COM port for the Arduino Due anymore. It had me tearing out my hair at the start, but I think I’ve got it figured out.

First off, check which port is available in the Tools/Port drop down menu of the Arduino IDE, and see if it’s selected (on my machine the port sometimes changes). If there’s nothing there, try the following: if you’ve been using the programming port, try plugging the usb cable into the native port (or vice versa). It should pick it up on a different com port. Just remember to select the different board type from the drop down list at Tools/BoardArduino Due (Programming Port) vs Arduino Due (Native USB Port). And also make sure the port is selected in theTools/Port drop down menu.

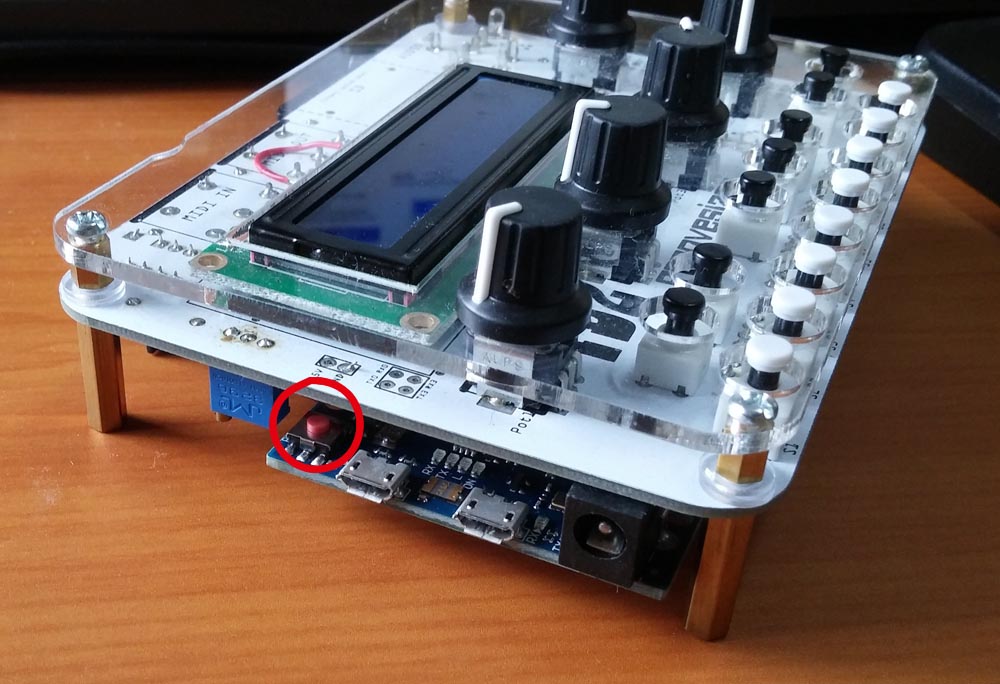
Uploading firmware seems to jog the Due’s memory, so once you’ve uploaded the firmware using the different port, you should be able to go back to the port you used before if you prefer. I always use the native port since I don’t need serial communications with the PC and uploading is much faster. The only downside is that you often have to reset the board manually – you can hit the reset switch without removing the board (it’s next to the contrast trimmer for the LCD), so it’s not a big problem.