Category Archives: News

Maker Faire Rome 2014

I loved the whole experience. Besides the fact that this was my first visit to the living museum that is Rome, I had a great time showing off the Groovesizers. As with the Mini Maker Faire in Hong Kong last year, the audience was mostly a non-musician one. On the other hand, most people seemed familiar with Arduinos so I could come at it from that angle.

Groovesizer_MFR14
The younger generation got hands-on with Groovesizers at Maker Faire Rome 2014.

One minor niggle is that our stand felt just a little out of the way, and with so much on offer at the Faire, only the most inquisitive bothered to see what was in our display tent. On the third and final day, the six projects in our tent moved ourselves into stalls closer to the main stream of visitors (and the projects in those stall moved themselves outside). It ensured a non-stop stream of visitors – quite the busy day.

As I was alone, I didn’t get a chance to network much with the other makers (doing so would leave  my display unattended) – it seems a bit of a missed opportunity. I did manage to give away loads of name cards, though, so at least I know the Groovesizer name got good exposure. It’s hard to measure the impact from attending a show like this, but I’m so glad I went!
TB2 Demo #2 & #3

With two more weeks left before I leave for Rome to show off the TB2 and other Groovesizers at the European Maker Faire, it’s non-stop work at the moment.

Here are two more TB2 demos:

And this one with reverb and delay:

Bravo Firmware (MB) is here! (VIDEO)

Here’s a first video of the Bravo firmware for the MB. The Bravo you’ll recall is based on the Bleep Labs Bleep Drum – it turns the MB into a 4 voice, 8-bit drum machine. The user manual and complete feature list will be up soon.

UPDATE: the Bravo firmware can be downloaded here. The manual will soon be available in the same page.

New hardware sneak preview

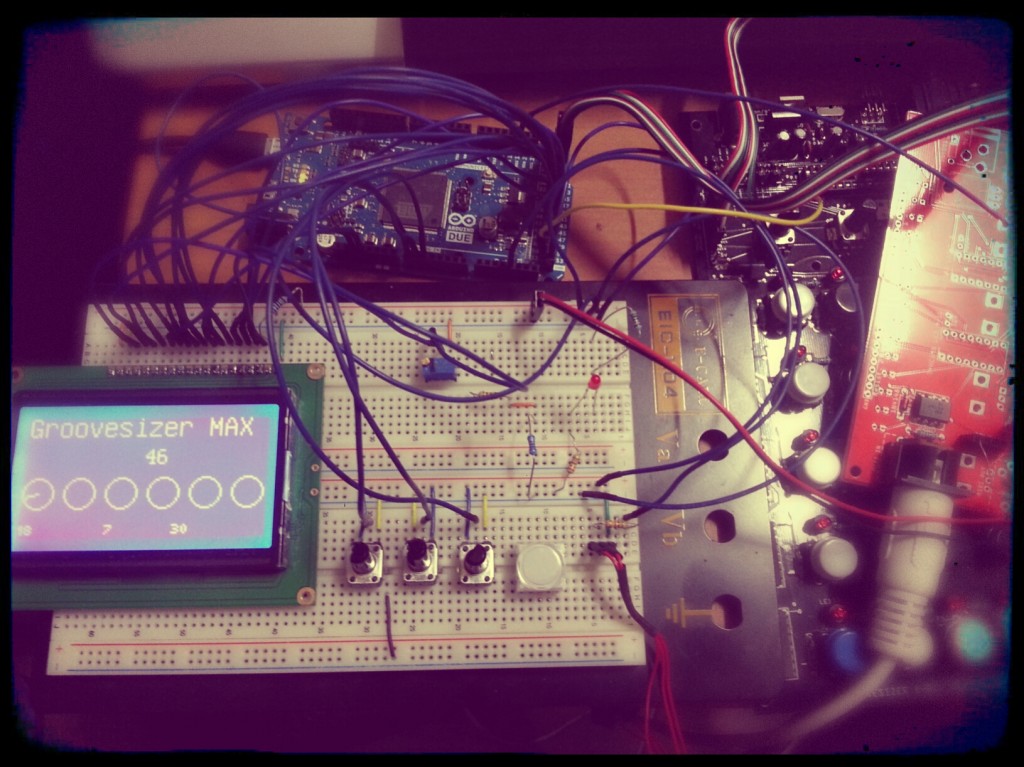
I’m not quite ready to go into details yet, but here’s what ‘s currently on the breadboard.

camera_Melissa_Hassel

This time I’ve asked my friend Old Crow to design the PCB. It’ll involve quite  a bit of SMT components, so it’ll probably not be a DIY project.

I intend to take the new machine to Indiegogo to take pre-orders for the first batch. We’re still some months off though.

Coming soon: Groovesizer mk1 kits

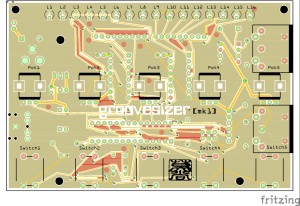
The original Groovesizer mk1 is still getting quite a bit of attention, so I’ve decided to offer it in kit form, too. I wanted to keep it simple and as close to the original as possible, but at the same time I couldn’t resist improving on some of the shortcomings of the first design. I’ve added two shift registers so that now there is an LED for each of the 16 steps – with some pins to spare broken out on an expansion header). I’ve also added a MIDI input alongside the output, so that it can be played as a standalone instrument, or synced to external devices.

Some prototype boards are being fabbed as we speak. It should be a great beginners kit with a low parts count and price. Groovesizer mk1_pcb

Multiboard V2

While we wait for the enclosures to arrive, I’ve taken the time to implement a host of improvements to the multiboard PCB. And before our brave pioneers feel short-changed,  the PCB is not functionally different in any way – rather the changes reflect sound design practice.

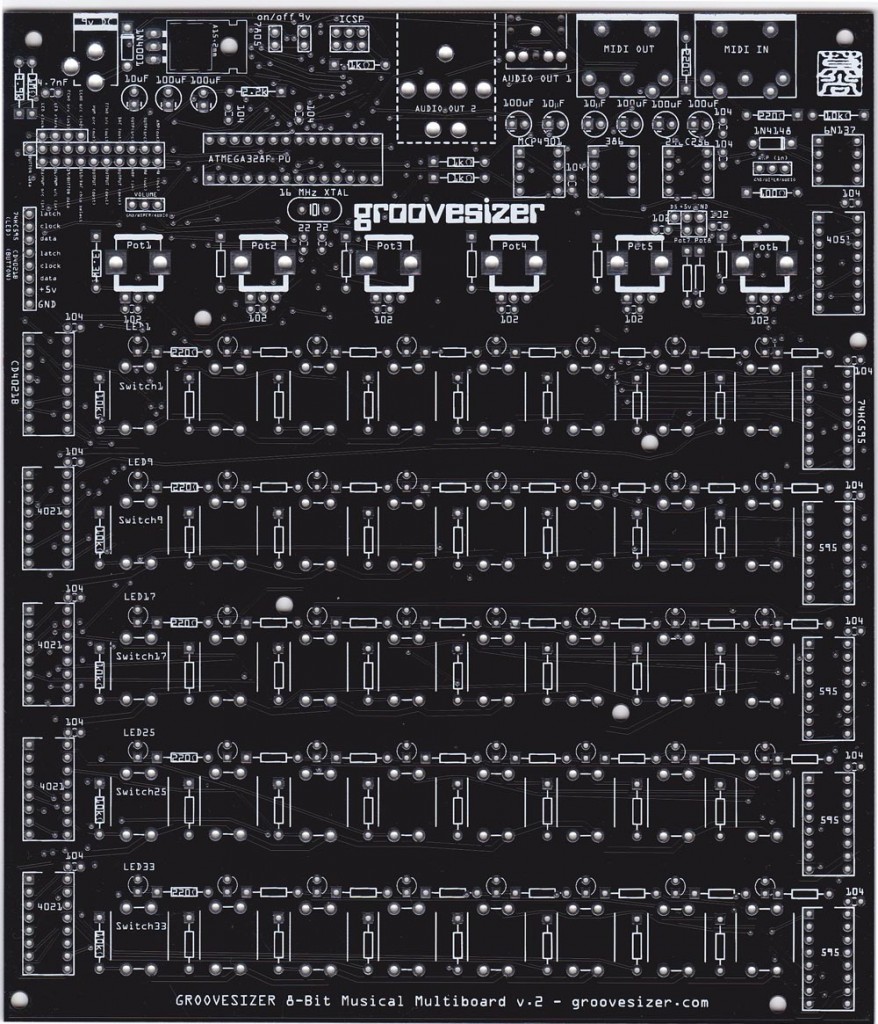
Here’s the new board.

Groovesizer V2 small

For the following changes, I’m hugely indebted to Old Crow, a US-based synth builder with many years of experience (for a somewhat more involved DIY build than the Groovesizer, have a look at his crOwBX).

  • All power traces are now 32mils.
  • Lots of bypass capacitors – specifically on all of the multiplexer ICs.
  • The 7805 voltage regulator is now flat mounted.
  • The crystal and trim caps have been moved closer to the oscillator pins on the Atmega.
  • A ground plane now shields the various circuit elements from one another and from clock noise.
  • The serial input pin for 5th row 4021 is now terminated.

Thanks also to Mutable Instruments‘ Olivier Gillet for suggesting the use of a 6N137 optocoupler in the MIDI input circuit to replace the 4N35 I’ve been using.

Last but not least, thanks to Ewald Cress for insisting on the 1N4001 reverse polarity protection diode.

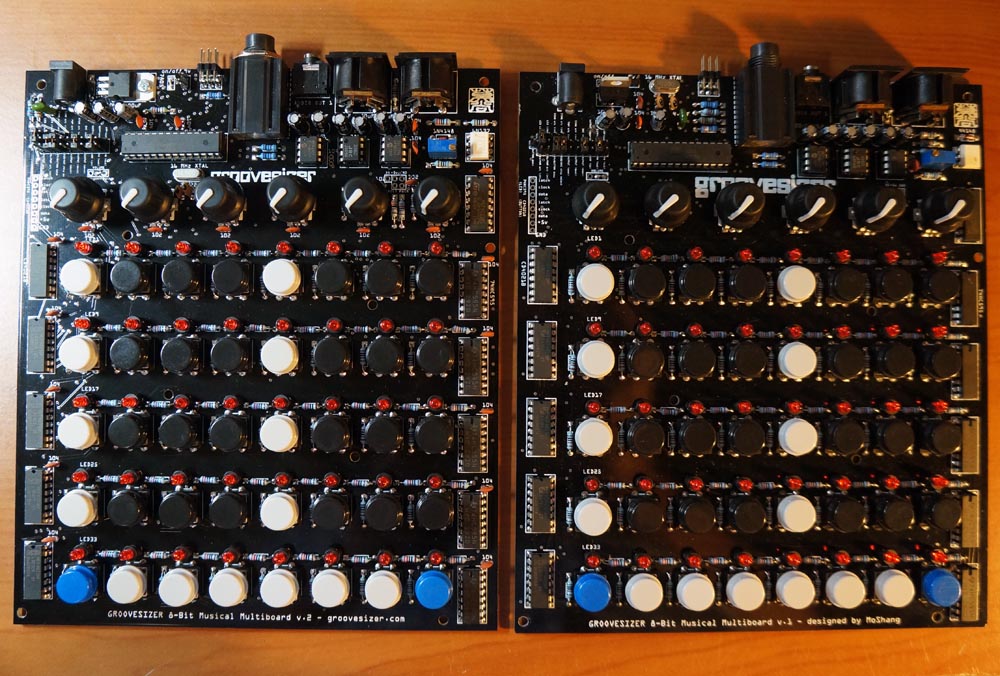
V2 multiboard on the left, V1 on the right.

Front panel design

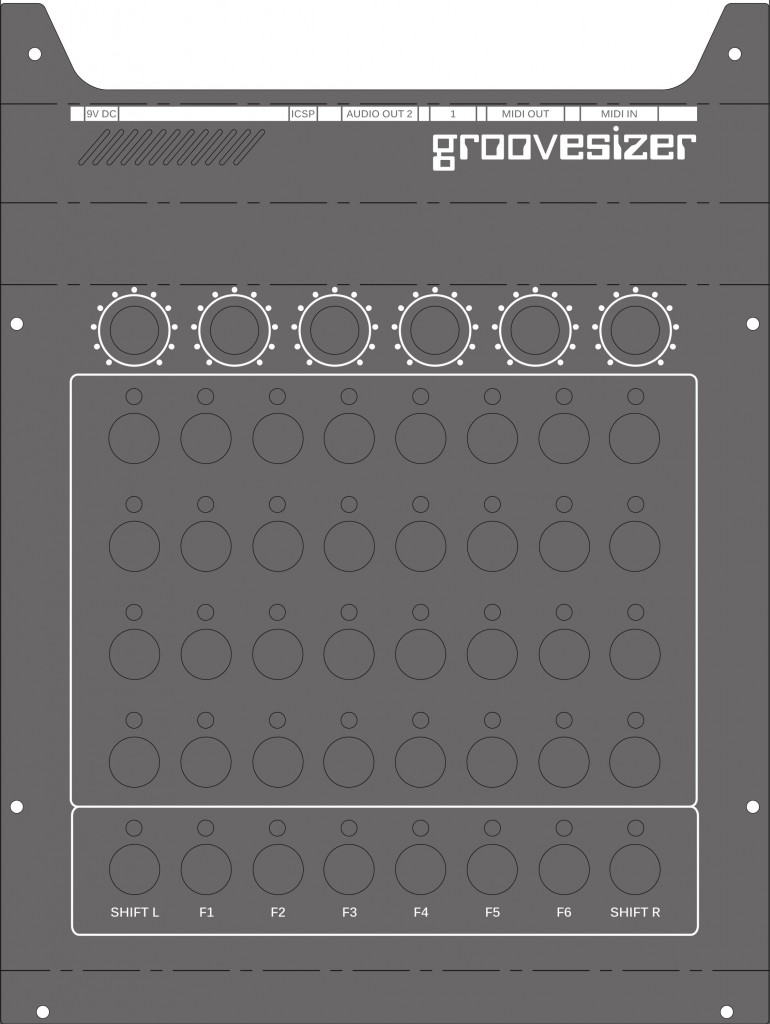
For those of you curious as to what the front panel will look like, here’s the design. The gray background here will be black – it’s just so you can see the bend-lines of the eclosure.

Nothing too fancy, or specific, since functionality will change depending on the firmware.Groovesizer - Silkscreen


UPDATE

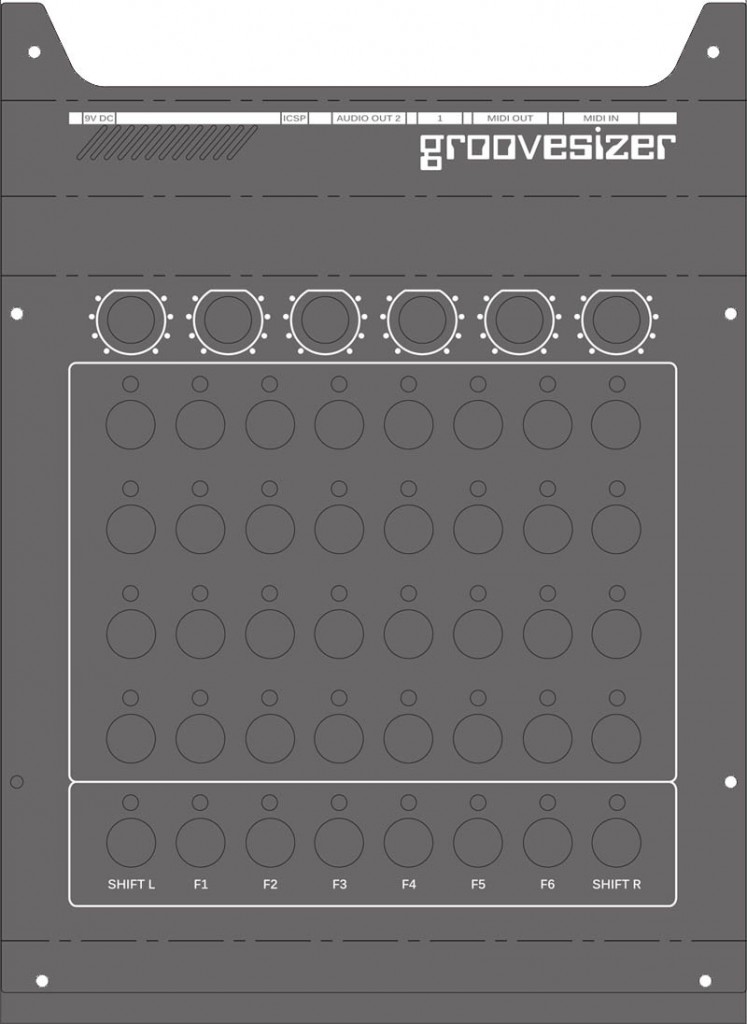
The manufacturer is unable to do silkscreen printing within 3mm of a bend, so I’ve had to adjust the design somewhat. I chose to keep the circles around the pots in their altered form. It’s more as a design element – but someone may still have a practical use for it.

Groovesizer - Silkscreen_updated2