Tag Archives: TB2

Can’t find COM port for Arduino Due

It seems to be a common issue with the Arduino Due that after uploading firmware perfectly normally for a while, the computer suddenly can’t find the COM port for the Arduino Due anymore. It had me tearing out my hair at the start, but I think I’ve got it figured out.

First off, check which port is available in the Tools/Port drop down menu of the Arduino IDE, and see if it’s selected (on my machine the port sometimes changes). If there’s nothing there, try the following: if you’ve been using the programming port, try plugging the usb cable into the native port (or vice versa). It should pick it up on a different com port. Just remember to select the different board type from the drop down list at Tools/BoardArduino Due (Programming Port) vs Arduino Due (Native USB Port). And also make sure the port is selected in theTools/Port drop down menu.

Uploading firmware seems to jog the Due’s memory, so once you’ve uploaded the firmware using the different port, you should be able to go back to the port you used before if you prefer. I always use the native port since I don’t need serial communications with the PC and uploading is much faster. The only downside is that you often have to reset the board manually – you can hit the reset switch without removing the board (it’s next to the contrast trimmer for the LCD), so it’s not a big problem.
 

Make your own single cycle waveforms

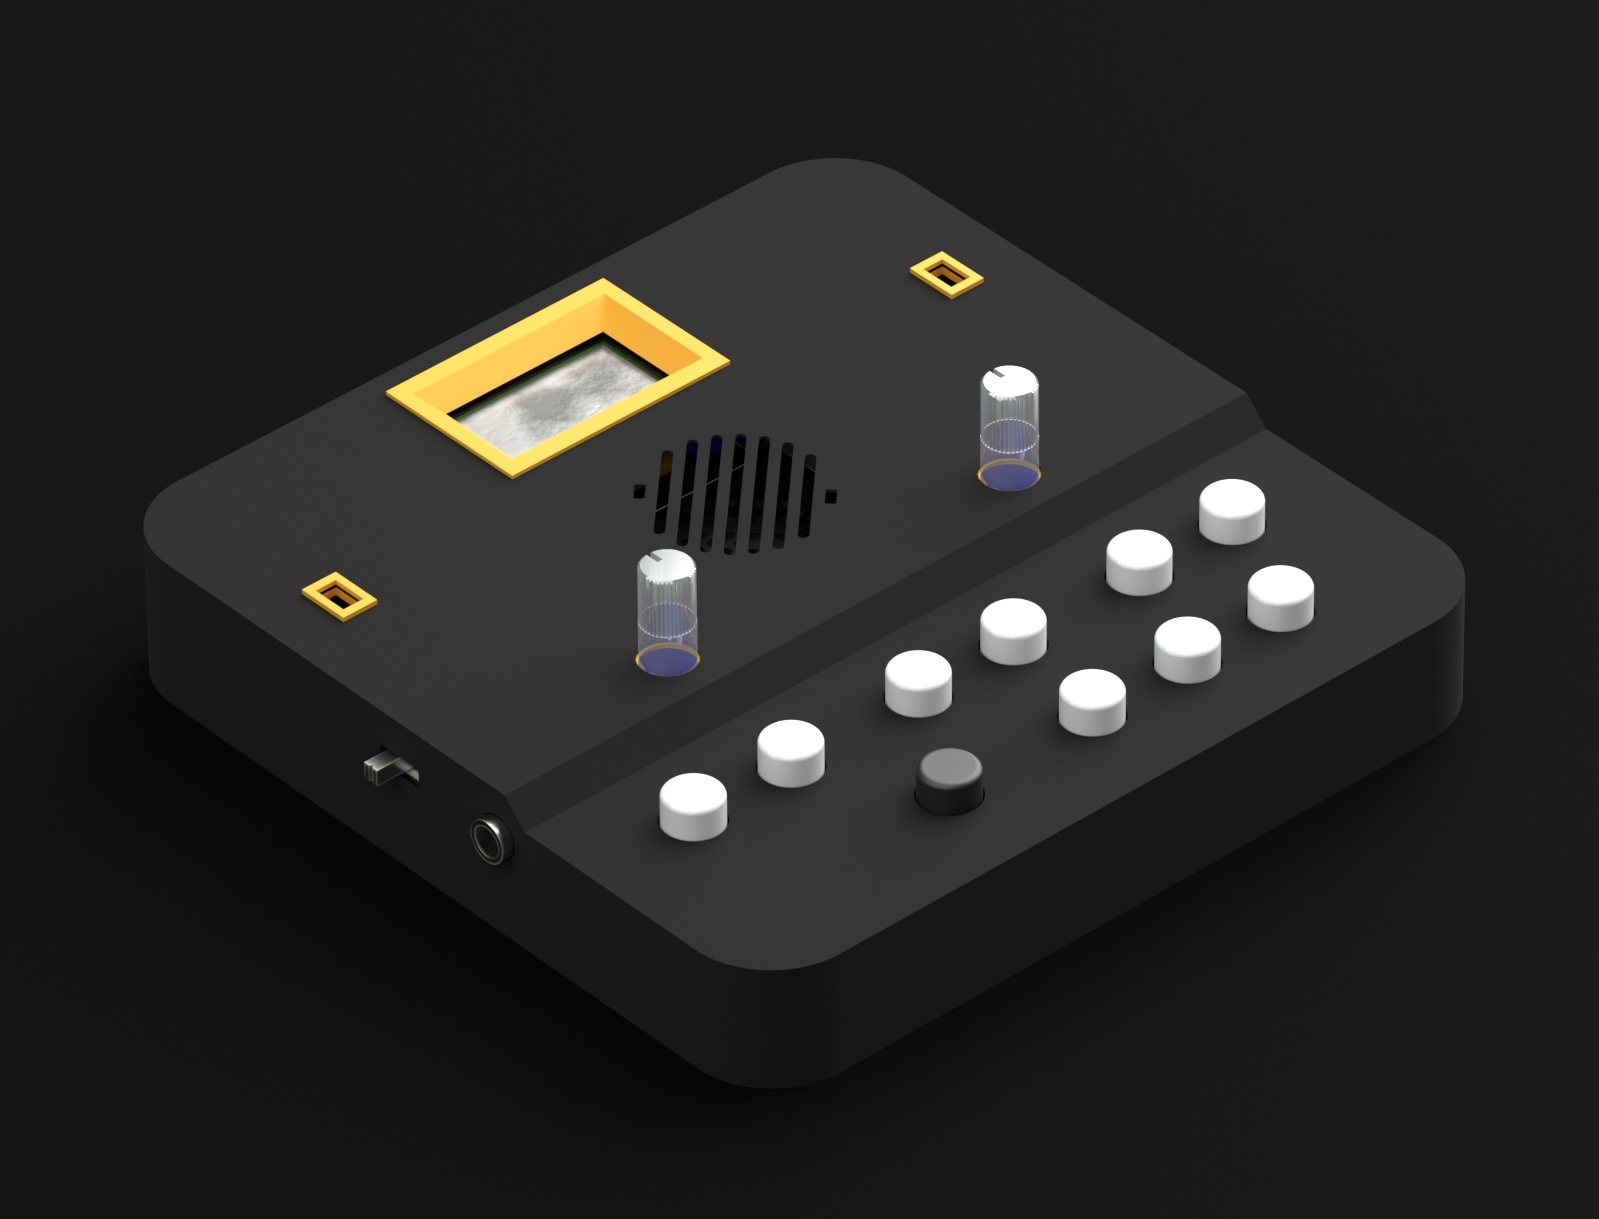
I’ve been using Adventure Kids awesome collection of single cycle waveforms (AKWF) to use with the TB2. His collection is so extensive that I haven’t really bothered to make my own. It turns out that rolling your own is really simple. Here’s how to go about it in Audacity (chosen here because it’s free and cross-platform).

The basics requirements for a single cycle waveform to use with the TB2 are as follows:

  • 600 samples
  • mono
  • 16bit
  • 44.1kHz

To generate a tone, do so at a frequency of 73.4Hz, or D2. Adventure Kid calls this D2 + 2, but I’m not sure what the +2 is for.

Here’s how to do it in Audacity step-by-step:

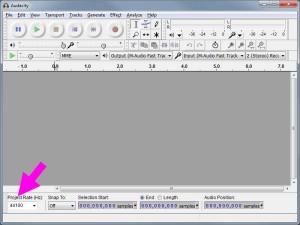
  1. Create a new file with File/New and select 44100 from the Project Rate (Hz) drop down menu if it’s not the default (click on the screenshots to enlarge). sc01
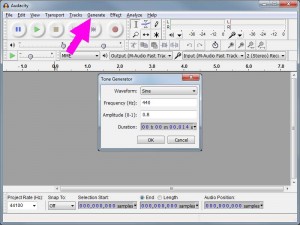
  2. Next, we’ll create a tone as a basis to work on. Select Generate/Tone to open the tone generator.02
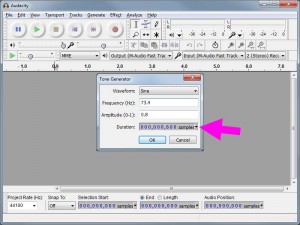
  3. Choose any one of the waveshapes in the Waveform field (we’ll use a sine). Input 73.4 in the Frequency (Hz) field. You can leave the Amplitude field at the default 0.8, or enter 1 to normalize the waveshape. In the Duration field, select samples from the drop down menu and enter 000,000,600.sc03
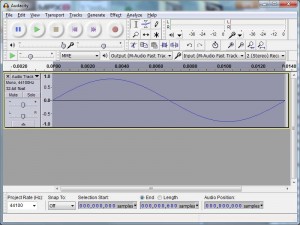
  4. Click OK to generate the waveshape.sc04
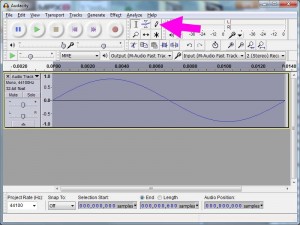
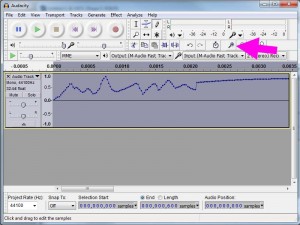
  5. The easiest way to alter the waveshape is to draw on the existing shape with the pen tool.sc05
  6. To draw on the waveshape you’ll need to zoom in until you can see the individual samples. Then, go wild!sc06
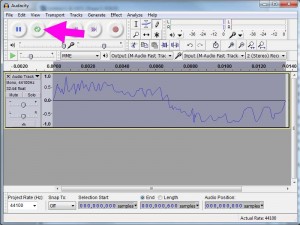
  7. To listen to your waveshape, hold shift and click on play button (holding shift will loop the playback).sc07
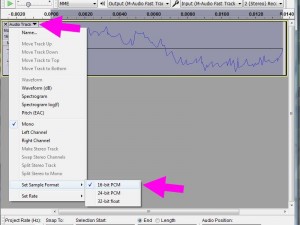
  8. When you’re done, you’re ready to export. Before you do, make sure the bit depth for the sample is set to 16bit. Under the Audio Track drop down menu, choose Set Sample Format/16-bit PCM.sc08
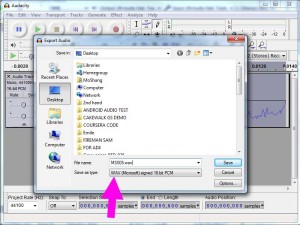
  9. Choose File/Export Audio and enter a name for your sample (remember that the TB2 uses the 8.3 naming convention – longer names will be truncated). Under Save as type, select WAV (Microsoft) signed 16 bit PCM.sc09
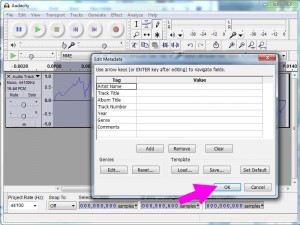
  10. Click OK, and just click OK again on the Edit Metadata page.sc10
  11. All done! To use your waveshape with either of the two oscillators, or with the LFO, simply pop the wav-file on an SD card.