Attack! Firmware
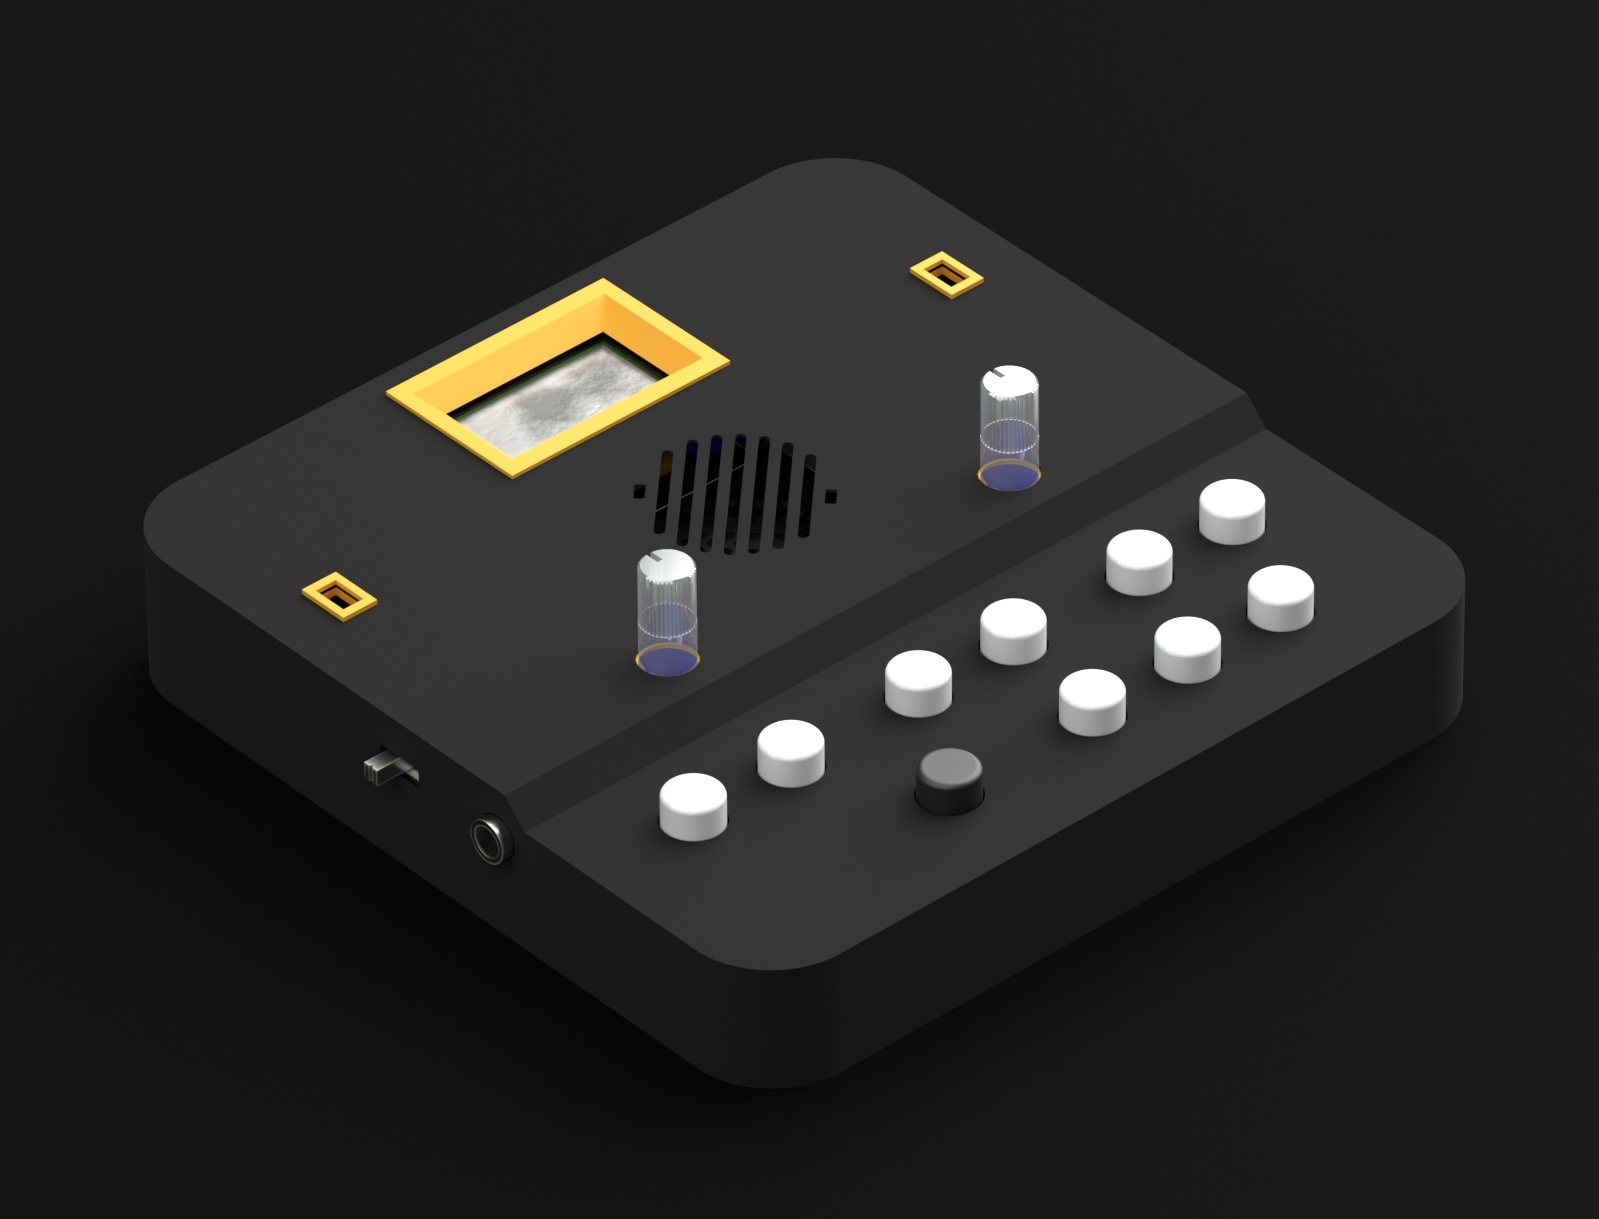
With the Attack! firmware loaded, the TB2 is a 6 voice drum machine with 32-step sequencer. Kits can be saved and loaded from SD. The TB2 Attack! also reads .wav files for the individual voices directly from SD. NB the Arduino DUE has limited sample memory. Spread over the TB2 Attack!’s 6 voices, there’s space for 5500 samples per voice. At the 22050 sample rate, that works out to about 0.2 seconds per voice. While that is enough for punchy kicks, claps, and snares, it is less suitable for cymbals and crashes that have longer decay tails. The TB2 Attack will open longer .wav files from SD, but it will only load the first 0.2 seconds of the .wav.
Here is the latest version of the TB2 Attack! firmware: Groovesizer_TB2_Attack_057
To open the firmware in the Arduino IDE, unzip the file above, and drag the Groovesizer_TB2_Attack_xxx folder to the folder where you keep your Arduino sketches. Open the file Groovesizer_TB2_Attack_xxx.ino in the Arduino IDE. All dependent files will be opened and accessible in tabs.
Libraries
In order for the firmware to compile, you will need the following libraries installed:
Download the above library files and keep them zipped. To install them from the Arduino IDE, use Sketch/Import Library/Add Library. For more detailed instructions, see this guide.
Upload
For information on uploading firmware to the Arduino Due board, please consult the official page at Getting started with the Arduino Due. If your computer can’t find a COM port for the Due, see this post.
NOTE: The latest IDE (from 1.6.2 onwards) defaults to Arduino Yun as board. This needs to be changed to Arduino Due under Tools/Board to compile and upload firmware to the TB2’s Due. You’ll find no Arduino Due under the list though. You first have to download an additional package – in the Boards Manager (also under Tools/Board), download Arduino SAM Boards (32-bits ARM Cortex-M3) by Arduino. Then pick Arduino Due from the list under Tools/Board. You can choose either version, Programming Port or Native USB Port. I use the native port since uploading is a lot faster (physically the native port is the micro USB port closest to the back of the TB2). What you lose out on is serial communication back to the Arduino IDE (useful for debugging) – I simply use the TB2’s LCD for debugging. Also, don’t forget to set the appropriate port for your choice under Tools/Port – the wrong port selection has had me tearing out my hair in the past.
NB: there seems to be an issue with the Attack! firmware’s file system with recent versions of the Arduino IDE. The Attack! firmware works as expected with Arduino IDE 1.6.5 and Due Board files 1.6.4
Changelog
V057 2015-05-25 Groovesizer_TB2_Attack_057
- fixed a crash on sequencer/edit page when holding enter and pressing W1 – W8
- added volume control
- exposed control to waveshaper
- kit is playable on settings pages
V056 2015-05-23 Groovesizer_TB2_Attack_056
- corrected the way velocity affects sample start
- where possible replaced the map() function in potentiometer mappings
V054 2015-05-19 Groovesizer_TB2_Attack_054
- first release
