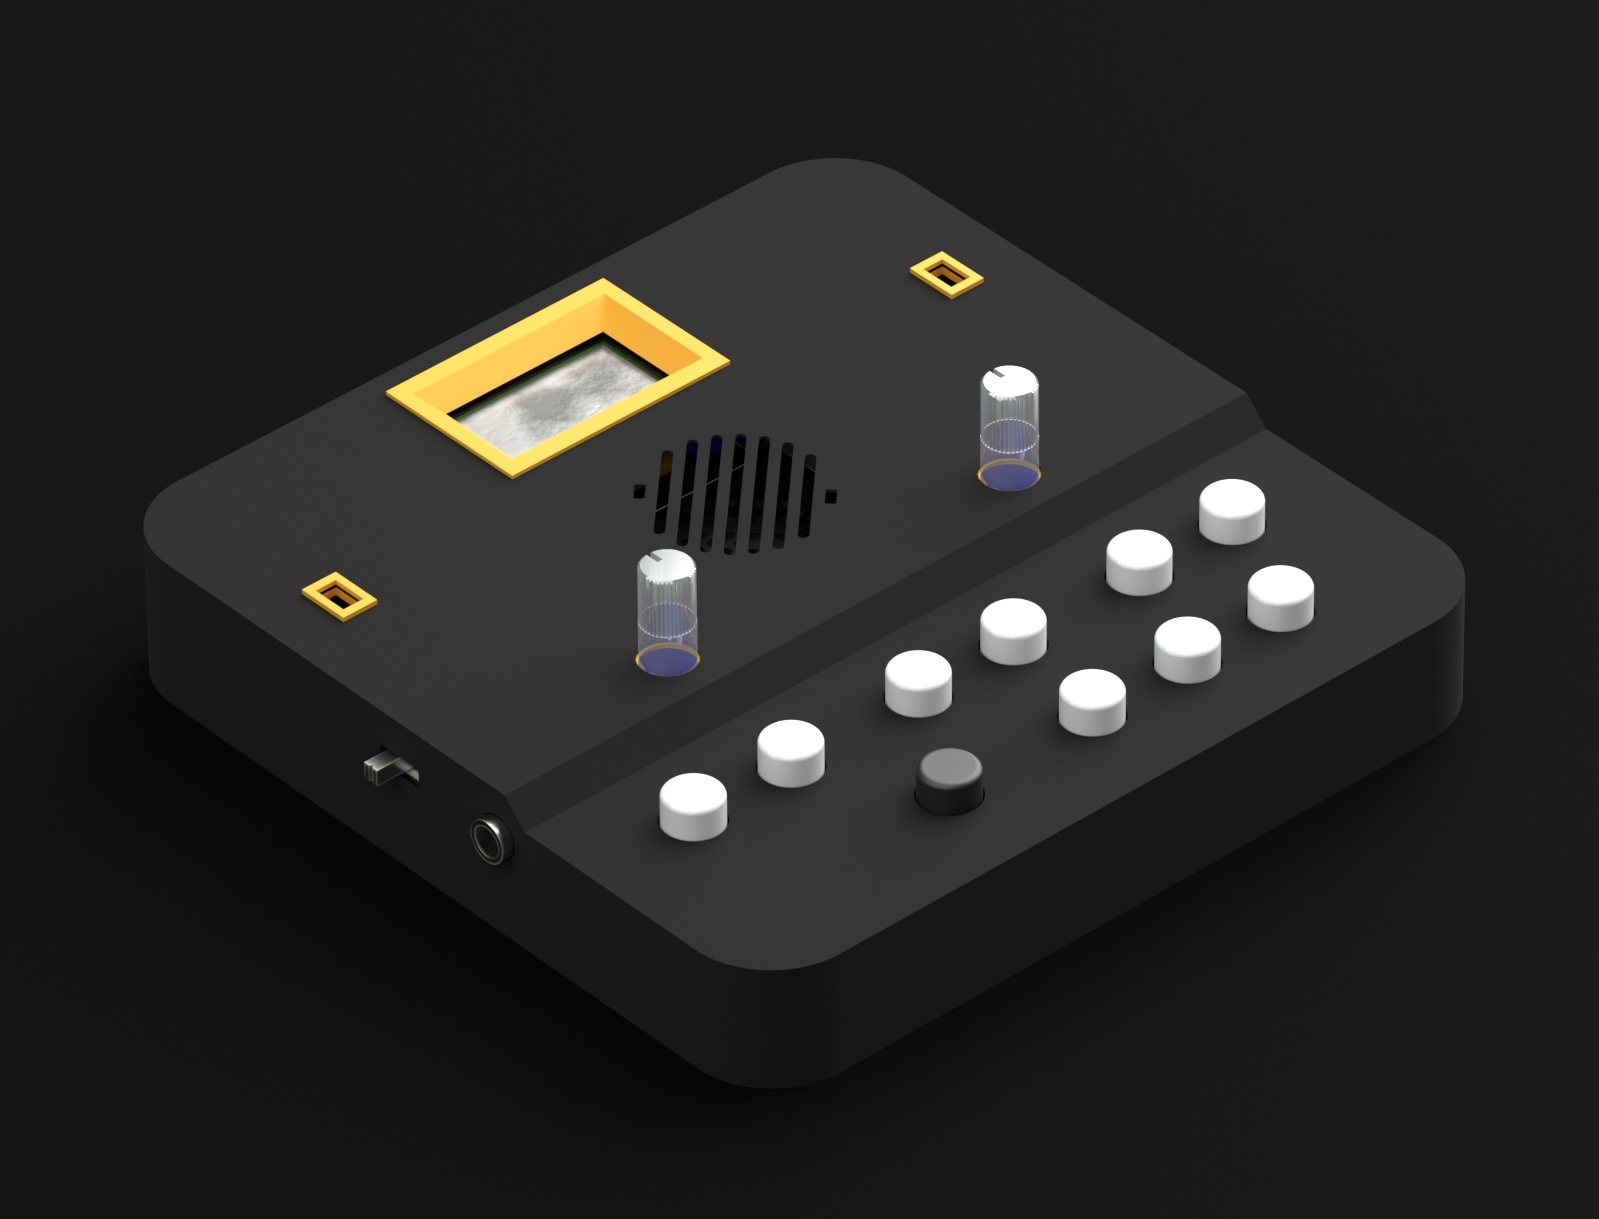
One of the design goals of the Groovesizer MB is to provide a platform for beginners to learn about the code behind microprocessor controlled electronic instruments. I should make clear that I’m pretty much a beginner myself. Prior to working on the Groovesizers, my only other coding project has been in Pure Data, making my self-remixing album What Comes Around. Besides following the Arduino’s own tutorials, I managed to get a deeper understanding of the basics by completing the edX online course CS50x: Introduction to Computer Science. I recommend it highly; it’s free, it deals mostly with C (meaning you can apply what you learn directly to the Arduino), and lately they allow you to do it on your own schedule.
So, it might be a case of the blind leading the blind. On the other hand, it also means that if you have zero experience with writing code, I know where you’re coming from. I’ll be leaving the comments open, so do feel free to ask questions or suggest better ways to do things.
This tutorial series will look at the various systems on the multiboard, starting with control of the LED grid. The tutorials will be cumulative, with the aim of coding a useful device from the ground up. To be honest, I’m not sure what we’re building yet, whether a pure MIDI sequencer, or a better wavetable synth than the one on the Alpha. But hopefully that will establish itself as we go along, and I’m open to your suggestions.
To get the most out of the tutorials, you will need a Groovesizer MB, the Arduino IDE, and a means to upload code to the Groovesizer (I suggest going with the Arduino as ISP method if you also want to try out the Arduino’s own tutorials).
