USBTINYISP
 Groovesizer MB kits now come with USBTINYISP programmers included. While they are a reliable and cost-effective way to upload firmware to the MB, they’re certainly not the fastest solution on the block – uploading times can run to minutes, whereas the AVRISP mkII uploads the same firmware in seconds, so prepare to be a little patient.
Install Drivers
If you’re on Windows, follow the instructions here at Adafruit to download and install the appropriate driver for your OS. If you’re on OS X or Linux no drivers are required.
NOTE: My Windows 7 install complained about the unsigned driver, so I let the driver installation fail, downloaded the Windows 8 signed driver, and did a driver update from Device Manager with the signed Win 8 driver. Works a charm.
Steps-By-Step
Here’s a rundown of all the steps required to upload firmware to the MB
- Download and install the Arduino IDE
- Download the firmware file of your choice
- Unzip and copy to your Arduino projects folders
- Download the required libraries and install (if not yet installed)
- Open the firmware in the IDE. You only need to open the main file – all the other dependent files will open in tabs automatically. The main file has a format like this: Groovesizer_Alpha_xxx.ino
- Make sure you have Arduino Uno selected in the IDE under Tools/Board
- Hit the Verify button (the checkmark in the toolbar) and check that the firmware compiles without errors
- Set the jumpers on the Multiboard for the firmware you want to use
- Plug your USBTINYISP into your machine and into the MB – no power required as the USBTINYISP supplies power to the MB
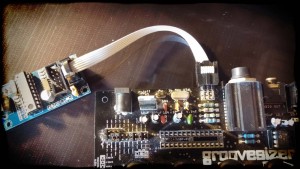
- Make sure you have USBtinyISP selected under Tools/Programmer
- Upload the firmware to the MB with Sketch/Upload Using Programmer

Other Methods
There are a number of other ways to upload firmware to the Atmega 328 processor on your Groovesizer MB board. The first two involve using an Arduino – I’m using an Arduino Uno. Arduino’s are incredibly fun and useful to have around, especially if you’re interested in learning about microprocessor controlled electronics.
Arduino (Method 1) – swapping chips
For this method, you’ll need an Arduino with a removable Atmega 328 (some boards have surface mount components with the chip soldered to the board).
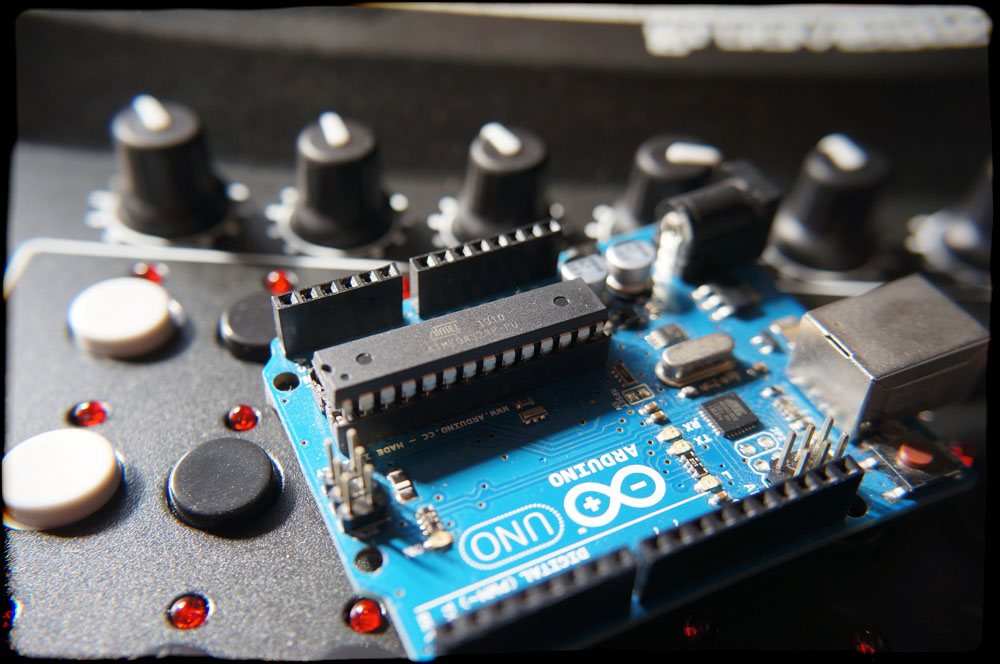
- Upload the firmware sketch to the Arduino board from the Arduino IDE.
- Remove the programmed Atmega from the Arduino board (this requires careful finessing with a flat screwdriver from both ends of the chip, or the use of an IC removal tool), and use it to replace the Atmega currently on the Groovesizer board. Lately, I’ve taken to not seating the Atmega all the way in the socket to make removal easier.
NOTES:
- It’s possible that you bend or even break the legs on the Atmega in the process. So, while it’s probably OK to do once or twice to update firmware, it’s definitely not recommended if you plan to develop your own firmware and need to do lots of uploading.
- The Atmega chips on the Pioneers’ run were programmed with an ISP (In-System Programmer). Unfortunately, this overwrites the Arduino bootloader, meaning you won’t be able to use the Atmega on the Groovesizer to replace the one you’ve taken form the Arduino, unless you flash the bootloader to the chip first.
Arduino (Method 2) – Arduino as ISP
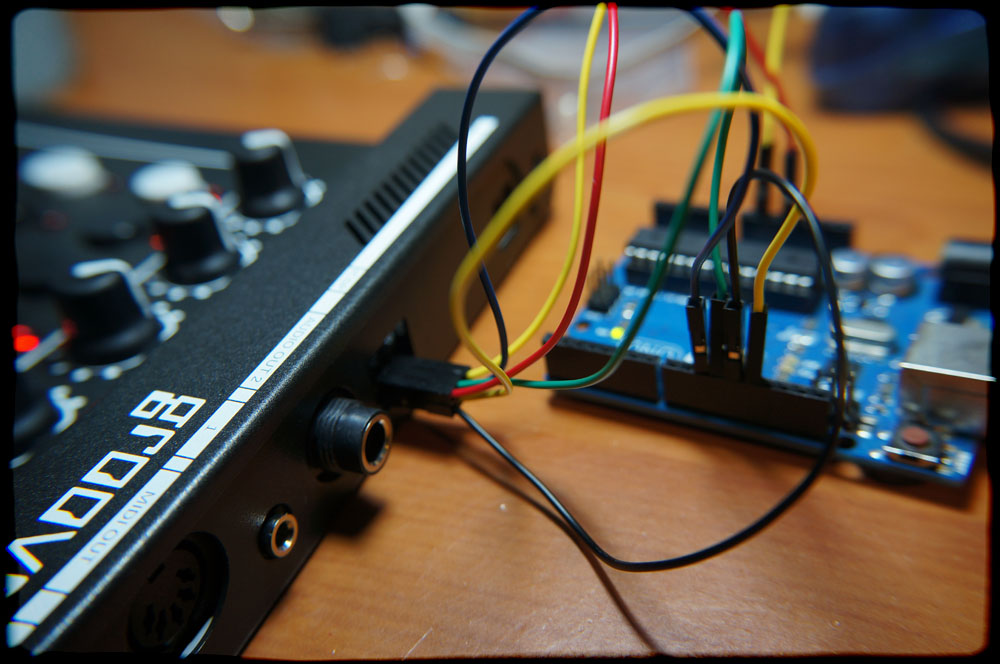
- Upload the ArduinoISP sketch (in the Examples folder of the Arduino IDE) to the Arduino board.
- Connect jumper cables between the Arduino and the ICSP header on the Groovesizer as follows:
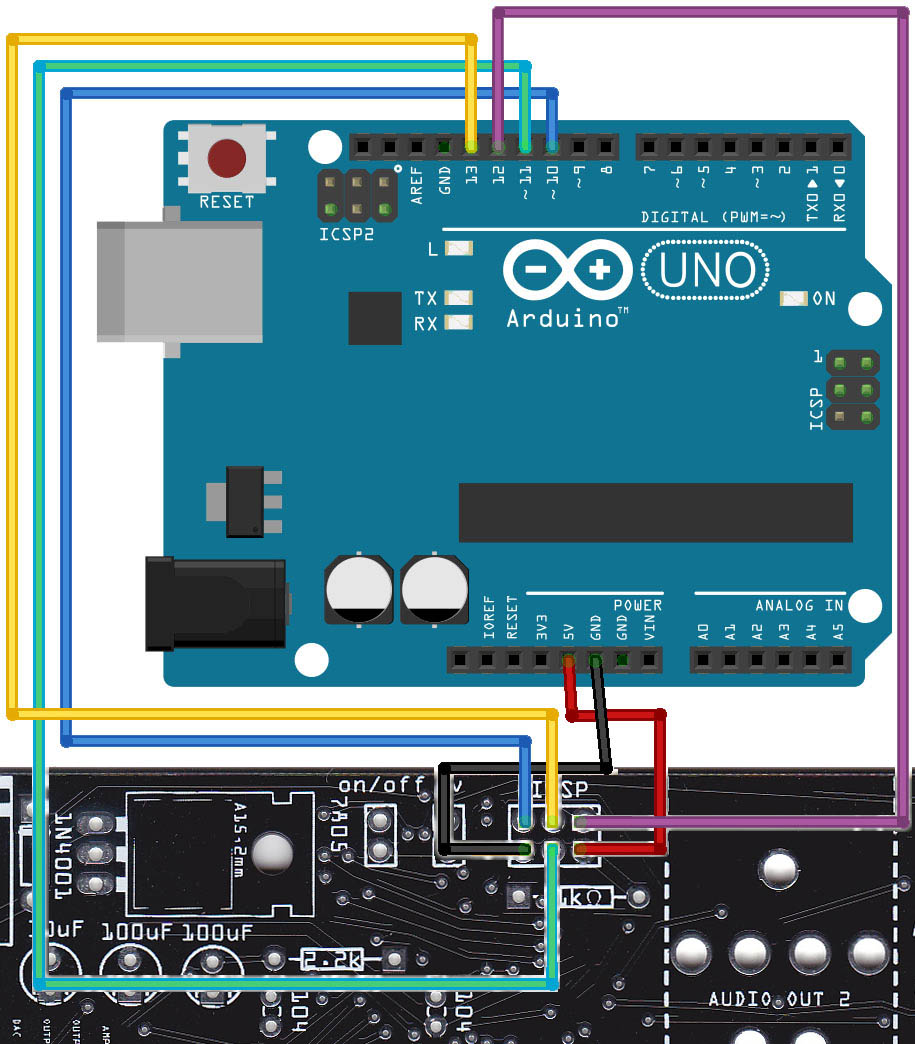
- In the Arduino IDE under Tools/Programmer, select Arduino as ISP.
- Open the desired Groovesizer firmware in the Arduino IDE.
- Upload it to the Groovesizer with File/Upload Using Programmer.
NOTES:
- It might get annoying to make the jumper connections often. To make this less of a chore, you can easily make up your own cable with the jumpers permanently soldered to connectors that fit the headers on the Groovesizer and the Arduino.
- With this method, you don’t need to supply power to the Groovesizer as power is fed from the Arduino.
AVRISP mkII
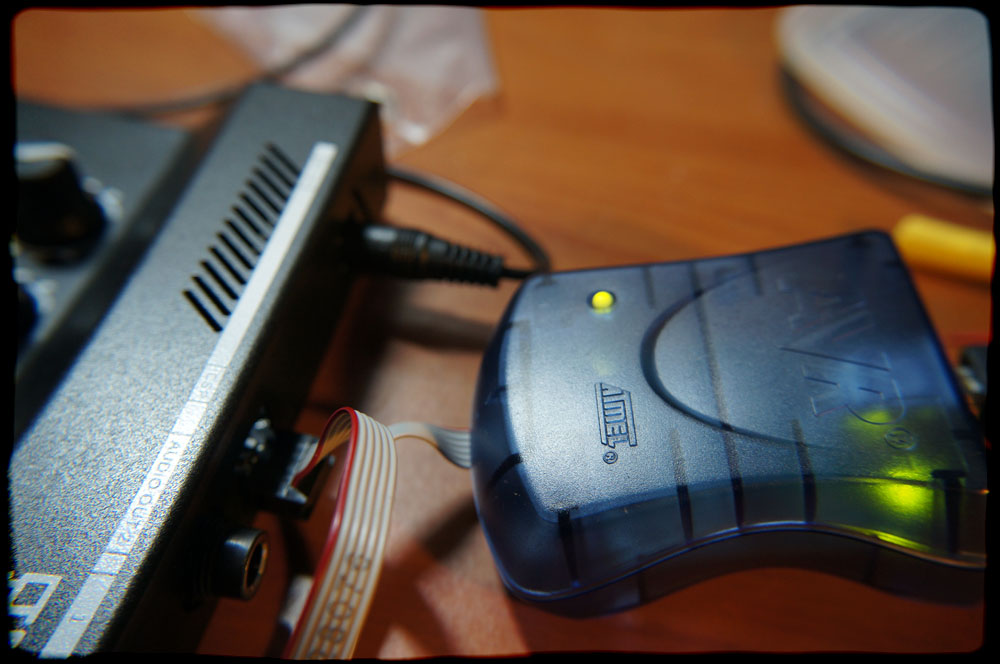
The AVRISP mkII is Atmel’s own solution for programming Atmega chips. To be honest, I probably wouldn’t have gotten one of these if I knew using the Arduino as ISP was so easy. Still, it’s neat, self-contained, and pretty much fool-proof (see the note about the driver, though).
- Connect the AVRISP mkII via USB to your computer, and via the captive lead and 6-pin connector to the Groovesizer’s ICSP header.
- Turn on the Groovesizer (the programmer does not supply power).
- In the Arduino IDE under Tools/Programmer, select AVRISP mkII.
- Open the desired Groovesizer firmware in the Arduino IDE.
- Upload it to the Groovesizer with File/Upload Using Programmer.
NOTES:
- The Arduino IDE doesn’t like Atmel’s Jungo USB driver for the AVRISP mkII. Since their driver gets installed with the Atmel Studio software that comes with the programmer, it means you can’t use Atmel Studio and the cool tools it comes with. Instead, use the driver supplied with the Arduino IDE.
- Here are step-by-step instructions for installing the driver under Windows 7 32-bit:
- Plug the AVRISP mkII into a USB port on your computer. Windows will attempt to find drivers and fail.
- Go to Control Panel/Device Manager
- Find the AVRISP mkII (with a yellow exclamation mark) listed under Other Devices
- Right-click AVRISP mkII and select Update Driver Software
- Select Browse my computer for driver software
- In the box marked Search for driver software in this location, use the Browse button and navigate to the driver in the install folder for your Arduino software – mine is located at C:\Program Files\Arduino\hardware\tools\avr\utils\libusb
- Choose Next
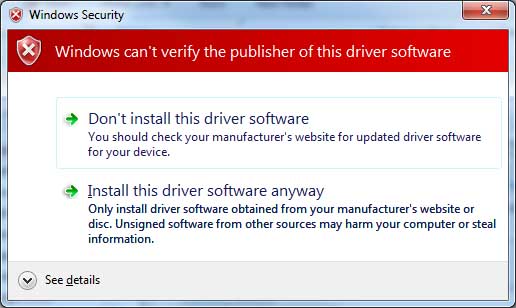
- A security window will pop up stating Windows can’t verify the publisher of this driver software – select Install this driver software anyway.
- Windows 7 64-bit is a lot more strict about using unsigned drivers than Win 7 32. You will first need to create a signed driver following these instructions :
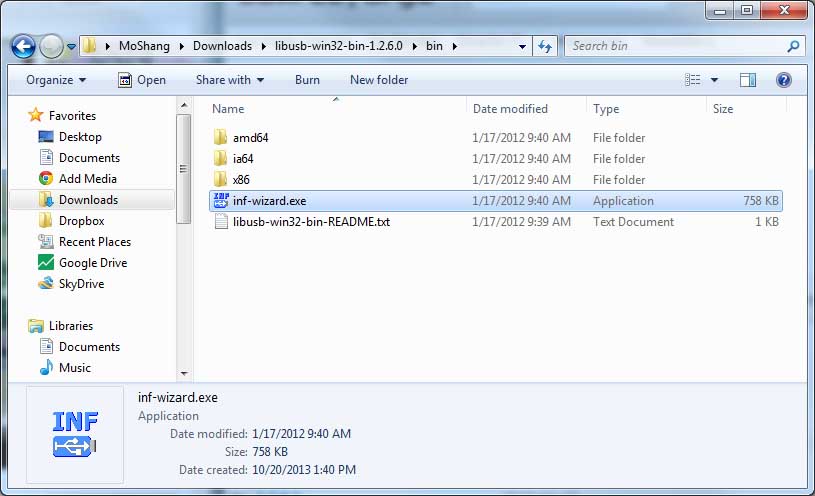
- Download the latest version of libusb-win32.
- Unzip the folder.
- Plug the AVRISP mkII into a USB port on your computer. Windows will attempt to find drivers and fail.
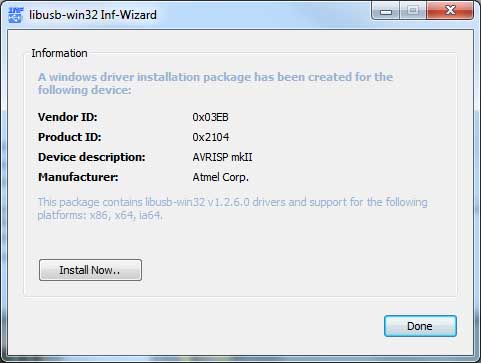
- In the libusb-win32 folder you extracted, go to the bin folder and open inf-wizard.exe.
 Confirm the AVRISP mkII is connected to your computer and click Next.
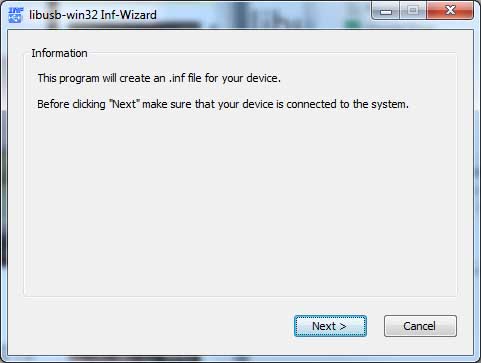 Select the entry for AVRISP mkII in the list and click Next.
 If you see something like the following, click Next.
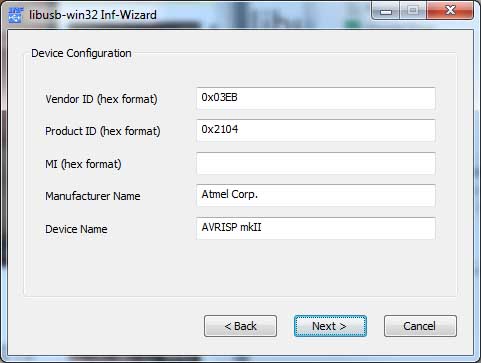
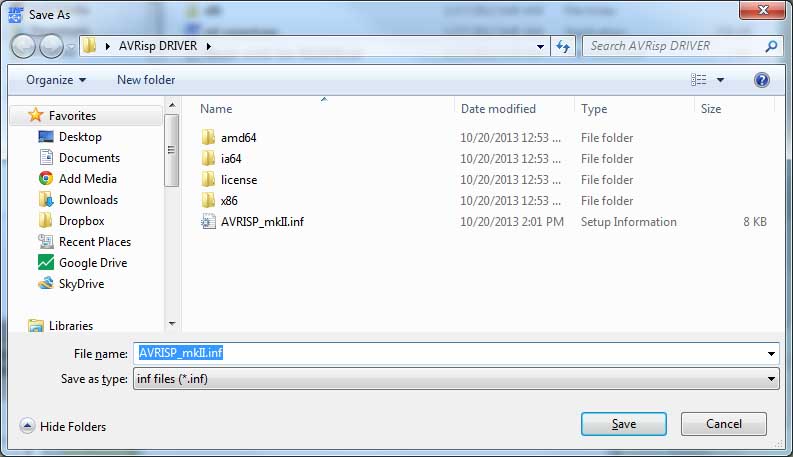
- Save the new .inf file.
- Click Install Now.
- If asked, click Allow this program to make changes.
- Choose Install this driver software anyway.
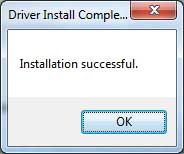
- If you see the following message, you’re done.
USBASP
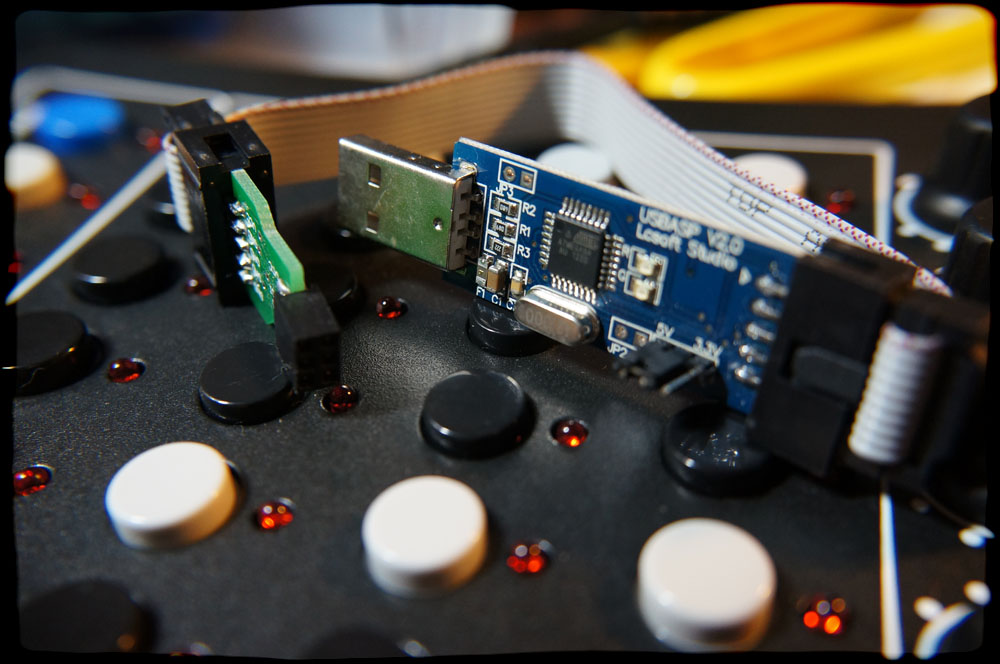 I’m adding this option for the sake of completeness, but fair warning, I couldn’t get mine to work. These things are cheap on ebay, and I got one to upload firmware to my Shruthi-1. It worked fine in that role, communicating directly with avrdude. Unfortunately it suffers from what appears to be a common problem when used with the Arduino ide – uploading fails with the message avrdude: warning: cannot set sck period. please check for usbasp firmware update. I’ve tried to update the firmware following these instructions, but had no success – the instructions are great, so it’s probably just my board. If you have one lying around, it’s worth a shot. Also, if you happen to have a USBASP that works, do let us know where you got it!